Successfully Growing Vegetables
From Seed
Growing vegetables from seed allows you to get started vegetable gardening at about the time when the winter blues are setting in and your green thumb is itching. Starting your garden from seed will give you the ability to grow more vegetable varieties and save you some money as well. Plus it is exciting when those seedlings start to sprout.
Seed Catalogs
Some of my favorite seed companies are Bakers Creek Heirloom Seeds and Johnny's Selected Seeds offer a wide variety of choices. Just looking at their catalogs will get you excited about growing vegetables from seed. Make sure to sign up to get your free catalogs from them. Seed catalogs get sent out during the winter months. This is the perfect time to start planning your spring garden. Once you've made your plan you can order your seeds and then get a few things prepared while you wait for you seeds to show up in your mailbox.
Basic Supplies for Growing Vegetables from Seed
Successfully growing vegetables from seed requires a few basic supplies. The first thing you will need will be some type of container for your seedlings. Some options for containers are egg cartons, toilet paper rolls, or yogurt cups. You can also opt to use ready made seed starting trays from your local nursery or garden center.
You will also need some seed starting soil in order to begin growing vegetables from seed. You can buy bags of premixed seed starting soil or mix up your own. I have two different recipes for seed starting mixes that work well.
Seed Starting Soil Recipe #1
1/2 part vermiculite
1/2 part coco peat
(this mixture will need supplemental feedings as your seedlings grown)
Seed Starting Soil Recipe #2
1/3 part coco peat
1/3 part finely sifted compost
1/3 part vermiculite
(this mixture will give your seeds nutrients as they grow)
Finally, you will need lighting. You can go with a grow light or T5 florescent lights. LED lights should be 8 - 12 inches from your seedlings and T5 florescent lights should be 5 - 6 inches above the seedlings. You can set up shelving with lights that are adjustable but this is not absolutely necessary. My first light set up was in an unused cabinet and I put puzzle boxes under my seedlings to get them closer to the lights. Currently my seedlings are grown on the bar in my kitchen. I have my grow lights set up over them. I aspire to a seed starting shelving unit in my garage but like I said, it isn't a necessity and my current set up works fine for me at the moment.
Seed Starting Schedule
With your seed packets in hand, you are ready to start planning your schedule for starting and transplanting your seedlings. Planning will make growing vegetables from seed a smooth process.
The first order of business is to sort your seeds. You will want to make a pile for seeds that you can start indoors and seeds that need to be direct sown into the garden. This information should be on the back of each seed packet. Each of these piles will be sorted again according to the amount of weeks before and after the last frost date in which they can be started. Mine end up sorted in to 8, 6 and 4 weeks before the last frost date, at the time of the last frost date and 2 weeks after the last frost date. You can look up your last frost date here.
Sprouting
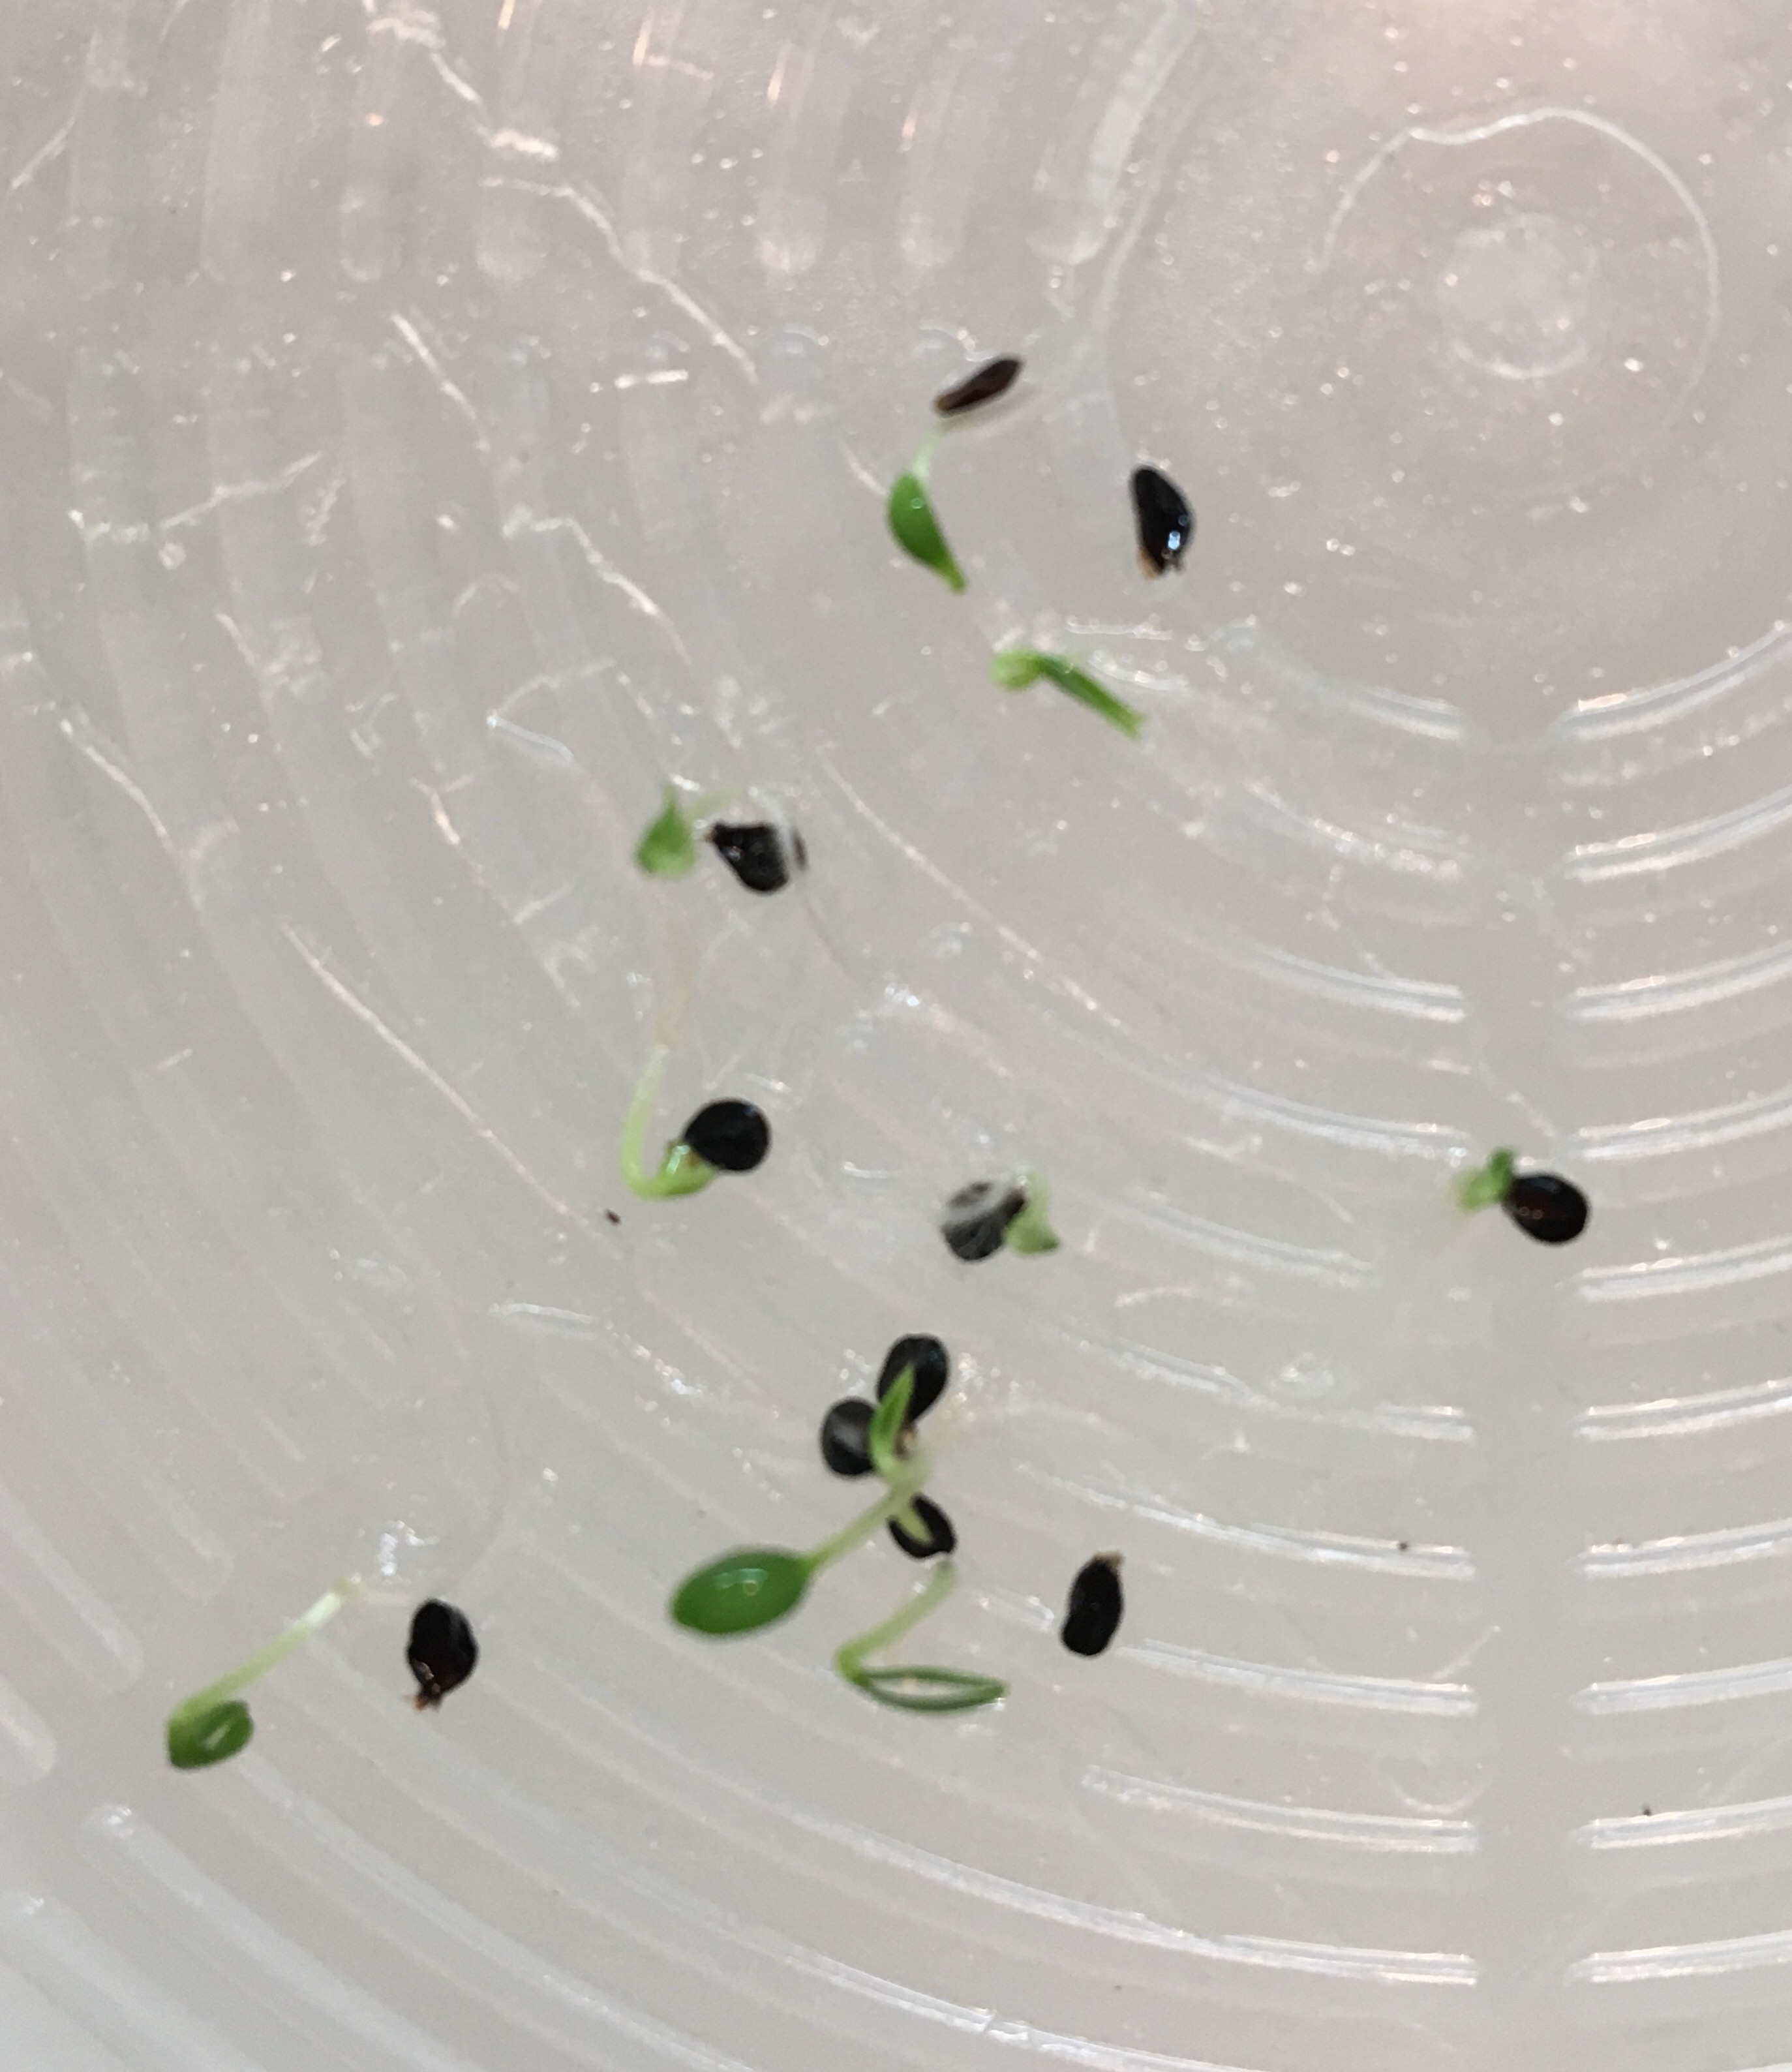
I always start my seeds on a paper towel. I fold and place the paper towel in to the bottom of a clear plastic container. Spritz the paper towel to get it damp and then add seeds. I put the lid on and label the container with a dry erase marker. These containers go on top of my refrigerator and I check them every few days for sprouting.
 Newly sprouted seeds.
Once the seeds sprout, I transfer them into my cells which are already prepared with moistened seed starting mix. I then adjust the lighting so that it is at the right distance from my seedlings. The lighting is set on a timer to run for 16 hours each day. Set a fan on low to blow on the seedlings. This will help seedlings to grow strong stems and reduce the chances of your seedlings getting fungal disease.
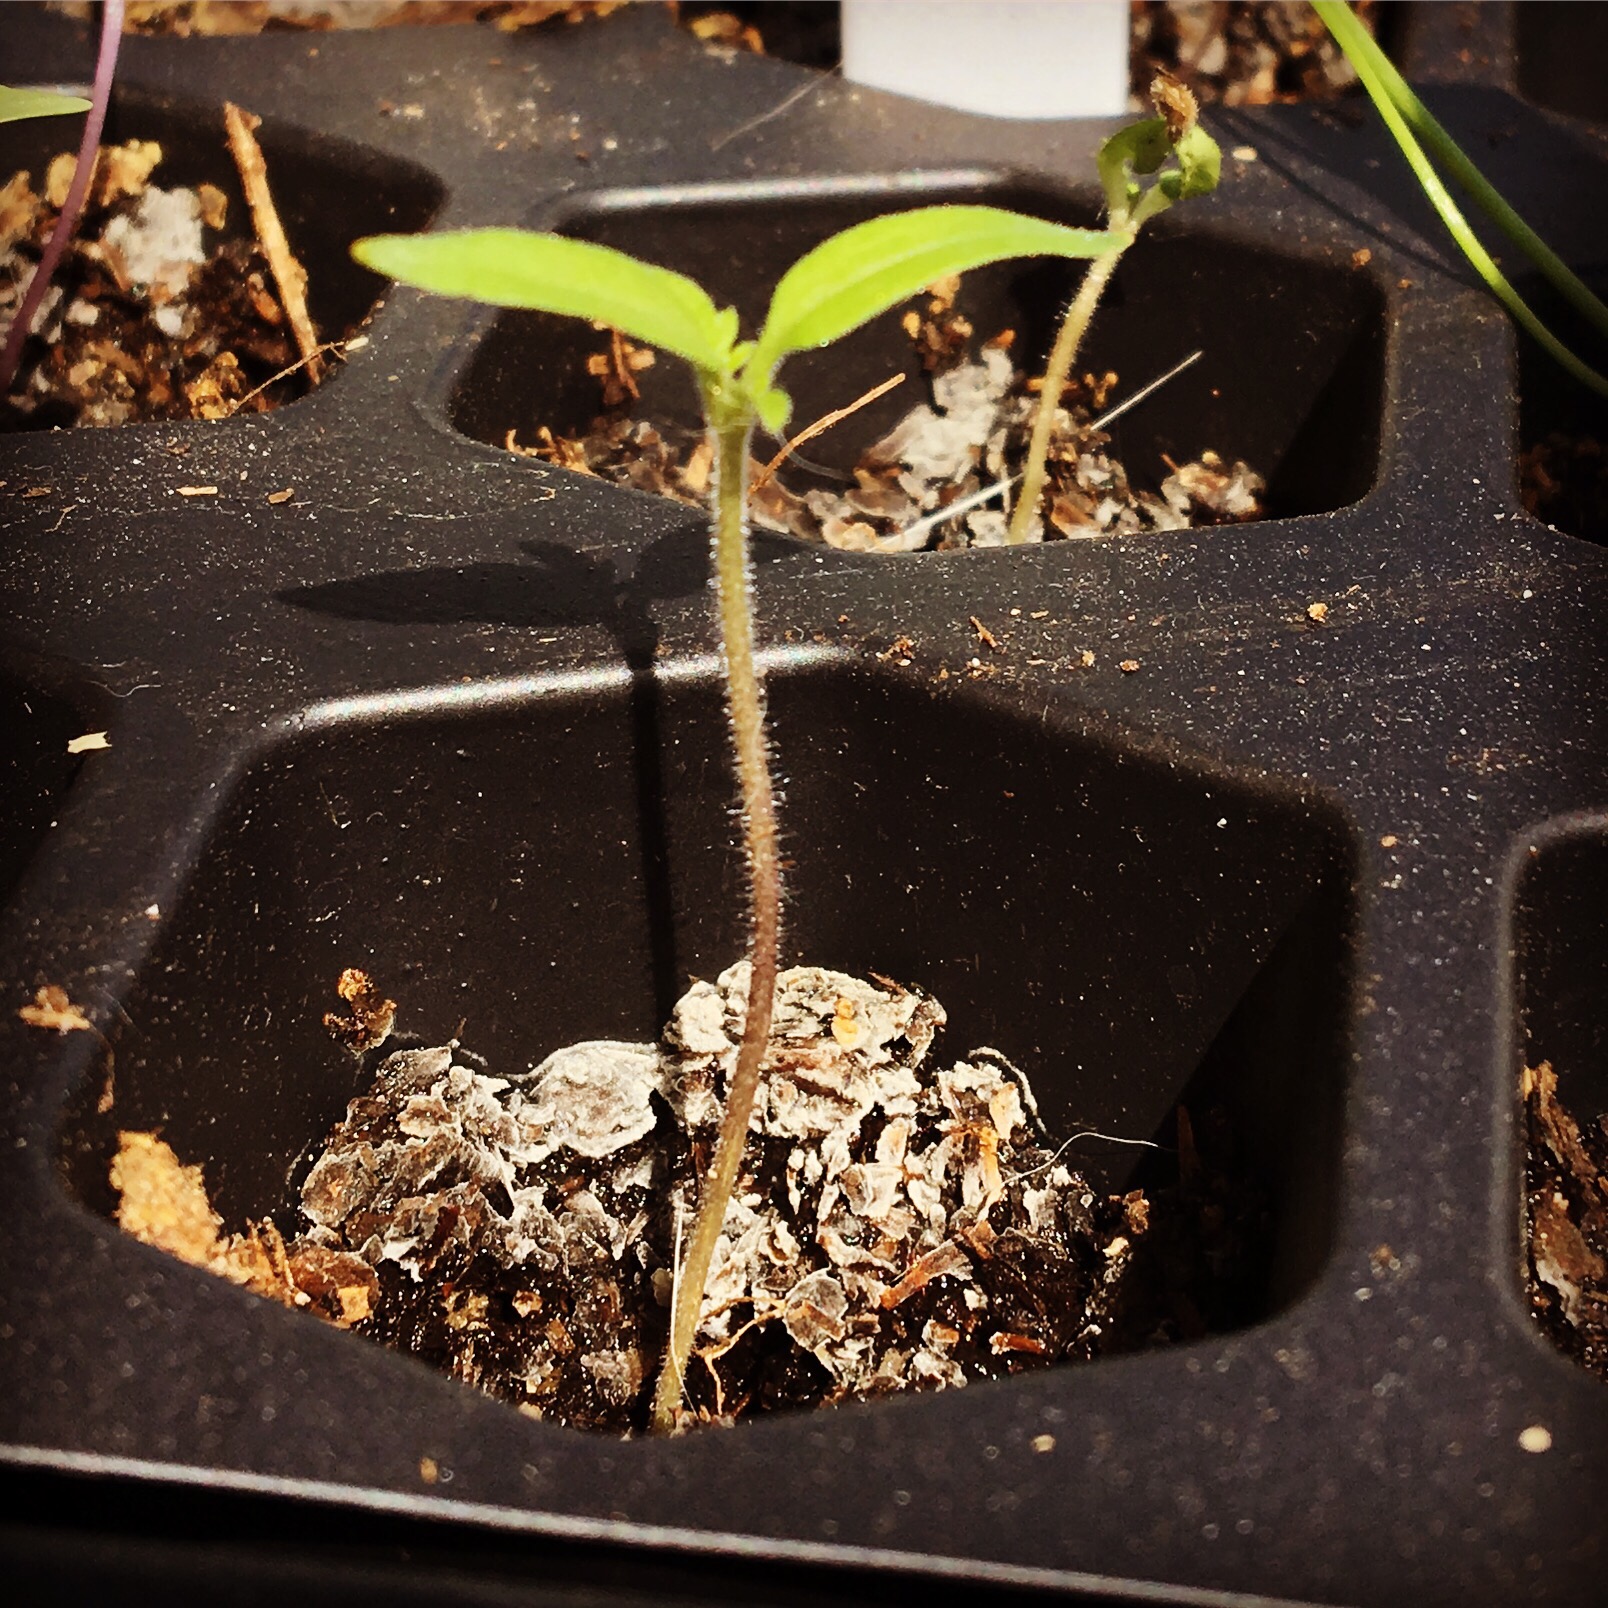
 Tomato Seedling
When the seedlings have their first true leaves, you can begin to fertilize them. You can use water soluble fertilizer at half strength. Fish Emulsion is also a good choice for fertilizing seedlings.
Potting Up
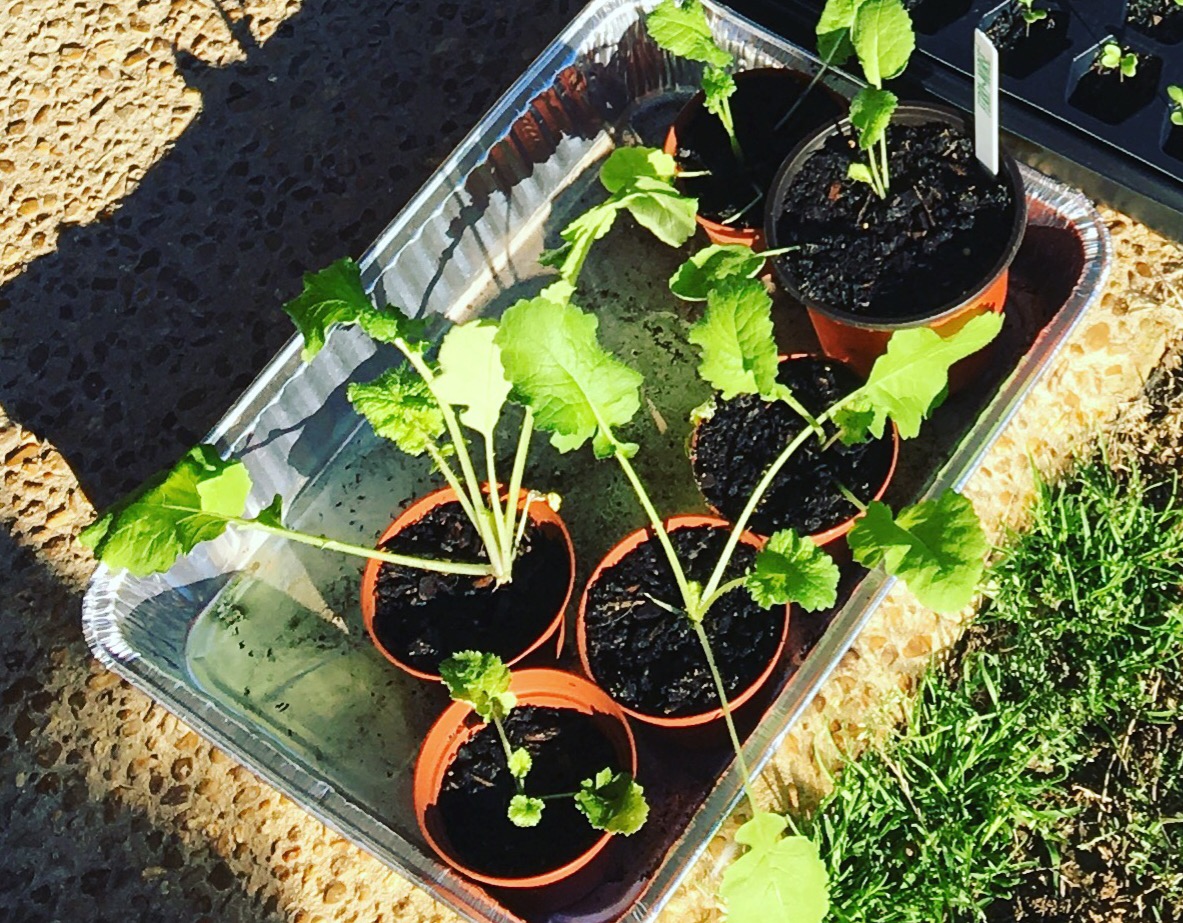
 Seedlings in 3 and 4 inch pots.
As you plants get a little bigger, they will be ready to move to larger pots, or pot up. A three to four inch pot or a plastic cup will work for this. You can either use a mixture of compost and potting soil or a mixture of vermicompost (worm castings) and garden soil for these plants. When you put the seedlings in the new pots plant them up to the seed leaves (the first set of leaves) to encourage healthy plants with a strong root system.
Hardening Off
Beginning about two weeks before time for the plants to go into the garden, start letting them spend time outside each day. Make sure to sit them in an area protected from full sun and increase the amount of time they stay outside every few days. Toward the end of the two weeks, you should be able to leave them out overnight. At this point they will be ready to plant into the garden.
Success!
Congratulations! You are successfully growing vegetables from seed. You've raised your own transplants and gotten your vegetable garden off to a great start.
If some of your seedlings didn't make it this far, don't worry. It happens to us all. At this point, you can either supplement with some options from your local garden center or make do with the seedlings you have on hand.